EDCI 336 Learning Experience

Author: laraholli (Page 2 of 2)

Bracelet

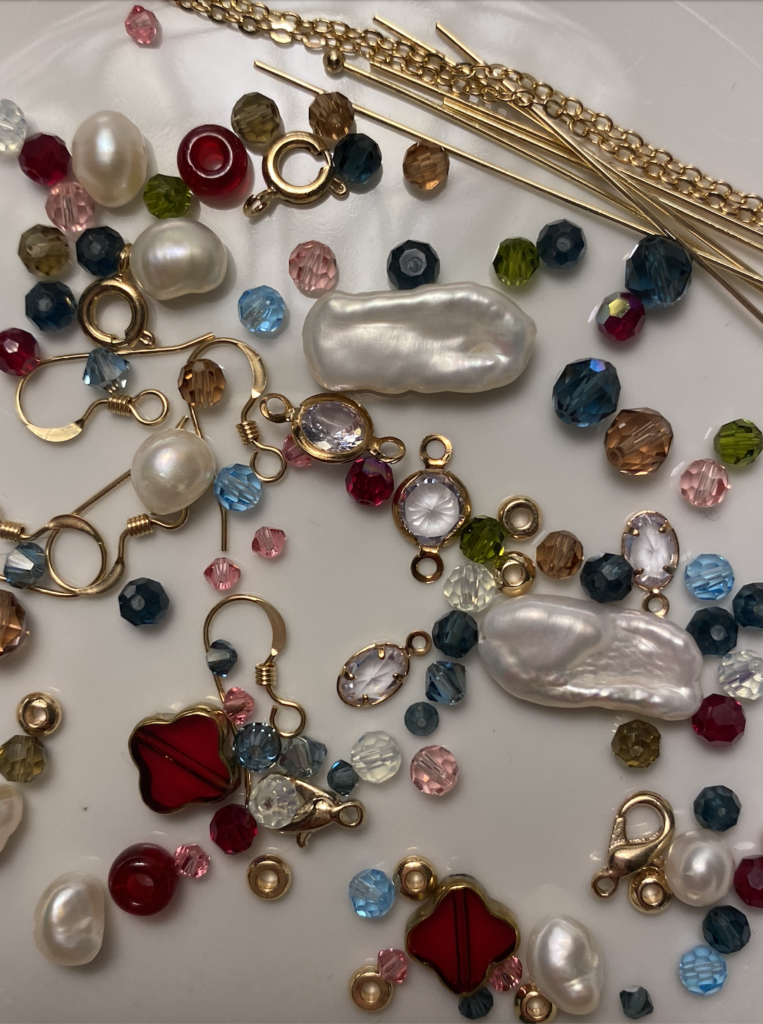
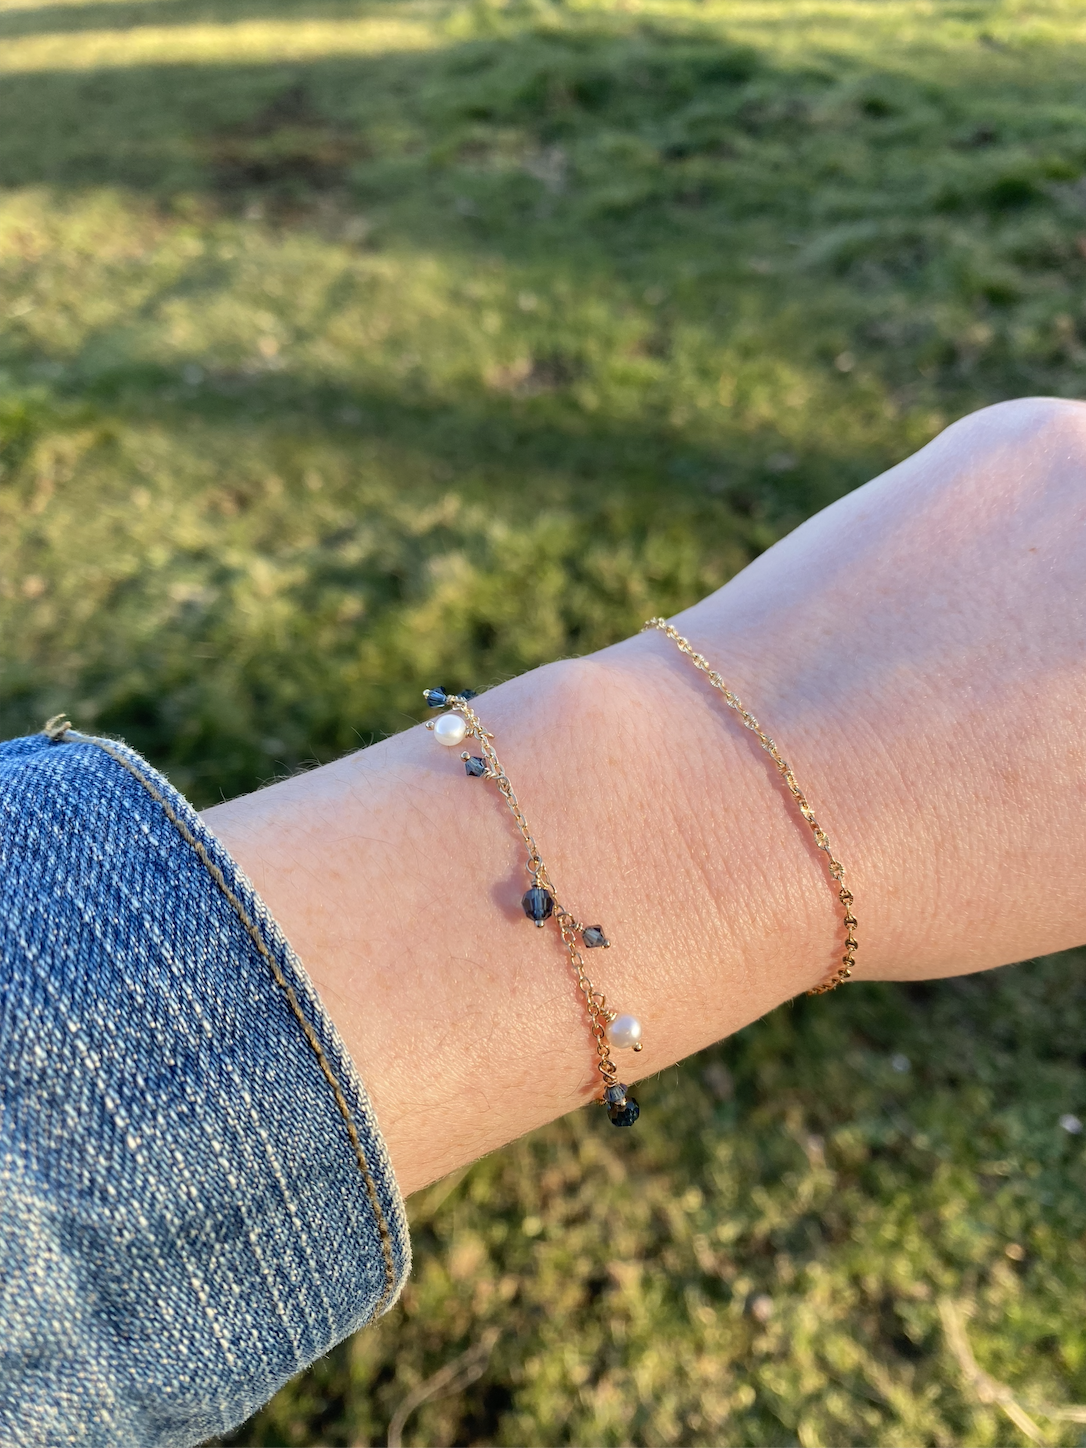
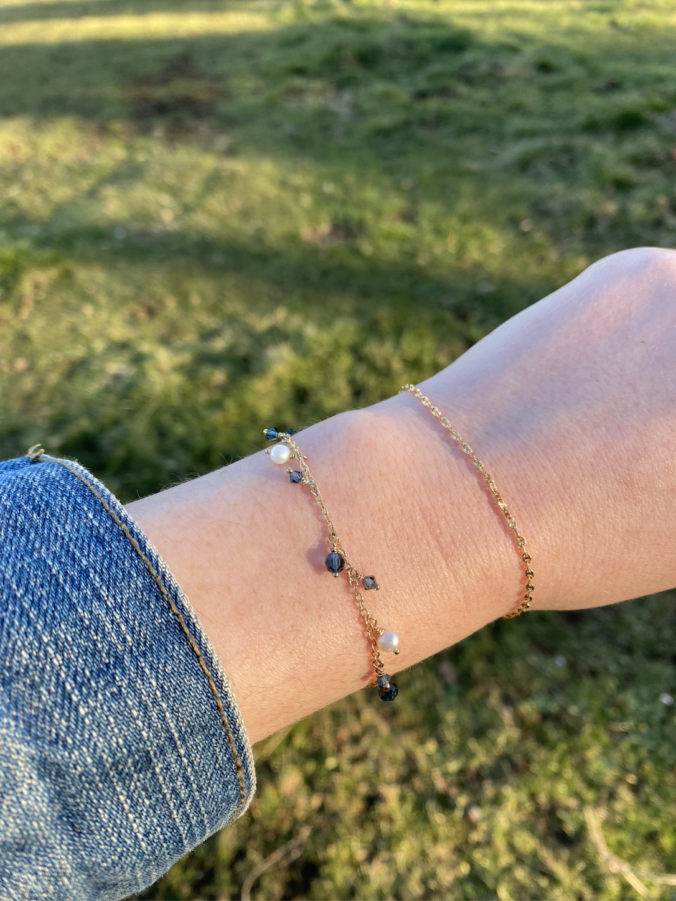
For my second jewellery project, I decided to make a bracelet. I have been wanting to experiment with using chain and I thought making a bracelet would be a good start. The first step was measuring out how much chain I would need. While this sounds like a simple task it was a little tricky. I measured it around my wrist and cut it, but it ended up being way too big for me so I cut some more off but then it was too small. So I learned that a little bit of chain goes a long way and had to start again. Once I got my desired chain length I added on my clasp by using a jump ring to connect the clasp to the chain. I think it probably would have been better to start with a chain that was slightly bigger or a jump ring that was thinner because I had a really hard time getting the jump ring through the chain. I then played around with what beads I wanted to put on my bracelet. I was going for a charm bracelet style where the beads hang off the chain. Eventually, I would like to try and attach beads in between the chain as well. I really liked how my bracelet turned out in the end, and although it was quite tedious, I was able to space out the beads nicely on the chain with 6 chain links between each bead. I did run out of the beads I was using at the end so it does have a bit of a gap, but it worked out nicely because when I’m writing or typing on my computer I can adjust my bracelet so that there are no beads digging into my wrist from underneath. I also got lots of wire wrapping practice doing this project!
1st Pair of Earrings

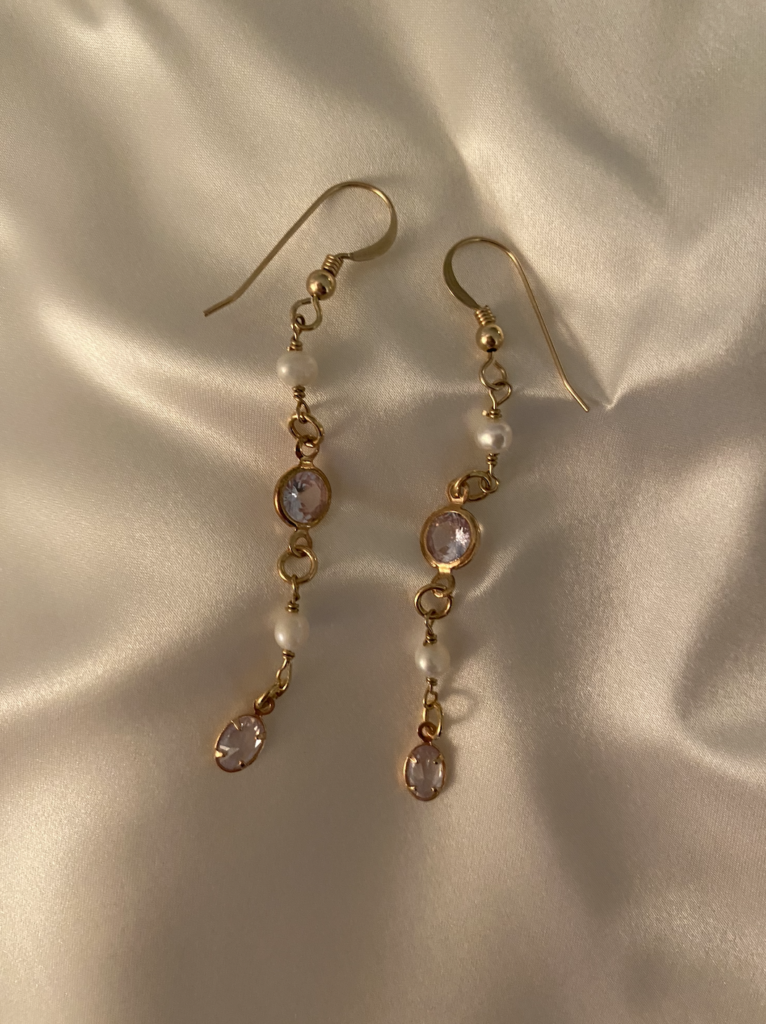
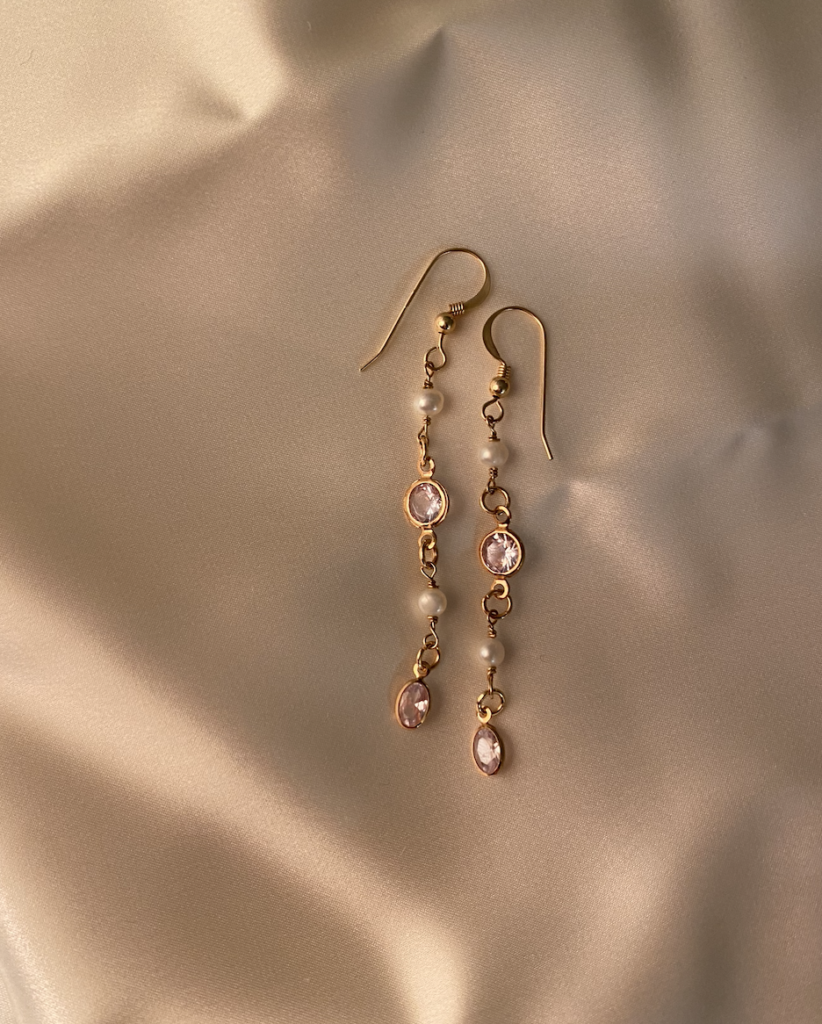
I had so much fun making these earrings! It took a bit of trial and error at the start. The first wire I tried using for wrapping was too thin, so there was not enough structure. The second wire I tried using was too thick, making it really challenging to wrap. Eventually, I was able to scrounge up some wire that was the right thickness for this particular project. This was the first time I experimented with using jump rings, the little gold rings between the beads. I would usually just connect the beads with wire, but I like the look of the jump rings as they add a little more space between the beads. Using the jump rings also allows me to make changes to my design. For example, if I wanted to go back and change the order of the beads, I could easily do that. Whereas, if I had connected the beads with wire, I would have to cut the wire and re-wrap the beads. I also had to use two pliers, one in each hand, to work with the jump rings, which was a bit of a learning curve, but I got the hang of it by the end.

Wire Wrapping

I wanted to explore some other techniques for wrapping wire to help me improve my wire wrapping skills. When attaching beads together or onto a chain, wire wrapped loops are often used. Here are a couple videos I found that show how you can make wire wrapped loops.

https://youtu.be/hJhC8Cq0y1Q

Free Inquiry Inspiration

For my free inquiry project I am going to learn how to make my own jewellery! I have some experience making jewellery, but it is something I’ve always wanted to do more of and get better at. I’m excited to learn some new techniques, try new things, and get creative.

Check out this Pinterest board to see some of my ideas and inspiration!

Reflection #3

This week our class explored multimedia learning and graphic creation tools. During this class, we discussed the multimedia learning hypothesis, which is that people can gain a deeper understanding from words and pictures than just words alone. At first, I thought this was quite obvious, but it was interesting to see that there is more to it than simply putting up a picture beside some text. This was demonstrated in class when we viewed only text about how a bicycle pump works versus the text with a photo. While the photo helped a bit more than just the text, what really created a better understanding of how the bike pump worked was having a diagram of the bike pump throughout the different stages where students could see the inside of the bike pump, the unseeable part. Better yet, the text was broken up to go with the diagram. While the multimedia learning hypothesis probably seems quite obvious to most people, it is good to know about so teachers can keep it in mind when teaching and creating visuals for their students. Also understanding that the hypothesis is based on the idea that humans have two channels for processing information: one for visual and one for auditory information. If teachers can strive to explain information through both these channels their students will likely gain a better understanding of the material. In light of this multimedia learning hypothesis, the class explored some different tools we can utilize when teaching to benefit our students. We spent a lot of time looking at PowerPoint and I was surprised to learn about all the things you can do with that platform. It was interesting to see how engaging you can make your slides on PowerPoint. I’m so used to just picking a theme for my PowerPoint and inserting pictures here and there, but now I know that I can add more engaging visuals like videos and 3D images. Michael also showed us how we make slides more interactive by simply putting a white box over some text so you can then reveal the answer. I think this is a great way to get students engaged in some discussion during the lesson before revealing the answer, and you could even let students come up to reveal the answers. I played around with PowerPoint in class and created a collage of a bunch of things that I like. I tried out the tool where you can get rid of an image’s background and it was so easy! I remember being in digital photography in grade 10 and using editing programs and it was never that easy. This made me think about doing digital collages with my students someday. It could be a collage they create about themselves as part of an “about me” project. I also think it could be cool to do an assignment where the students make a collage based on a book they read. Michael also showed us how we can use PowerPoint to make worksheets for our students. I have used Canva in the past for making worksheets and I love all the graphics they have, however, there is only so much you can do with the free version of Canva. Using PowerPoint provides an alternative, free tool for making worksheets. 

After class, I played around some more with Canva and created myself a teacher logo!

Miss Holli Teacher Logo

Reflection #2

Today Jesse Miller came to our class to discuss social media and mobile technology. It was a super helpful lecture and I learned a lot about the important role teachers have in the media world. One of the topics that really stood out to me was the use of AI. Jesse talked about the use of AI as a support tool and/or companion for teachers and students. He discussed how teachers can use it for lesson planing and how students may use it as a way to aid their learning. I decided to go and experiment with ChatGTP. I asked if it could make me a lesson plan on early operations of multiplication for Grade 3 Students in Canada, British Columbia. ChatGTP provided me with a well-laid-out, easy-to-follow lesson plan that included how the lesson should flow, how much time to spend on certain activities, and made connections to the curriculum. I think this is a great tool to use as a starting point and then go in and make adjustments based on your students needs and other things you would like to include. Or as a way to brainstorm and get some ideas while preparing your own lesson plan.

After Jesse’s presentation, I talked with some of my teacher friends. I asked them if and how they use AI as a tool in their teaching career. They told me they often use AI to create rubrics for assignments and assessments, as well as to help them write report card comments. They put in the information they want as part of the assignment, assessment, or comment, and AI generates a rubric for them or a comment they can add to their student’s report cards. This saves them a lot of time that they can then spend on creating lessons for their students and avoiding burnout. Another way they use AI is to turn their teaching notes into a PowerPoint. They just upload their notes and AI creates a nice PowerPoint with all of the main points they would like to talk about.

From what I have explored, I think that AI can be a really powerful and helpful tool for teachers. I know some people view AI as cheating or being lazy, but I think using AI to your advantage is smart and efficient if it’s being used responsibly. One of my biggest worries going into the teaching profession is teacher burnout. Teaching is not an easy job and it involves a lot of planning, marking, assessing, and more. I feel very fortunate to have AI as a tool I can use to help me in teaching and hopefully save myself some time here and there to help prevent burnout. Students are likely not going learn best from a burnout teacher, so not only could AI help me, but it could also help my students as they would have a teacher who feels good and engaged!

Here are some sites I found that give you access to some AI tools:

Reflection #1

This week, I watched the documentary Most Likely to Succeed, directed by Greg Whiteley. I found this documentary very interesting because I have never seen or experienced this kind of school before. There were a few things that particularly stood out to me. The first is that the school curriculum we have today was created so long ago that it has resulted in teaching students things needed to participate in a society we no longer have today. A significant change within our society highlighted in the documentary is that many of the jobs our curriculum prepares students for no longer exist due to advanced technology. I think this idea of trying to shift our school system to one that teaches students how to think for themselves, be creative, learn from their failures, build teamwork and leadership skills, be critical thinkers, and develop GRIT is going to better prepare students to participate in today’s society that values those skills. When I considered the results of when students were re-tested on the same information they were tested on three months prior, and the test scores went from an average of a B+ to a F, the idea of teaching students things they will actually remember and take with them into the world, as opposed to biology facts or advanced math formulas they are just going to forget after the test is over, started to make a lot more sense. This idea reminded me of a TedTalk I watched for another class that talked about how higher-level math seems to be useless for most people. Overall, I think High Tech High has taken an insightful approach to teaching, and I hope to incorporate some of their ideas into my teaching someday.

Newer posts »

© 2025 Lara's Portfolio

Theme by Anders NorenUp ↑