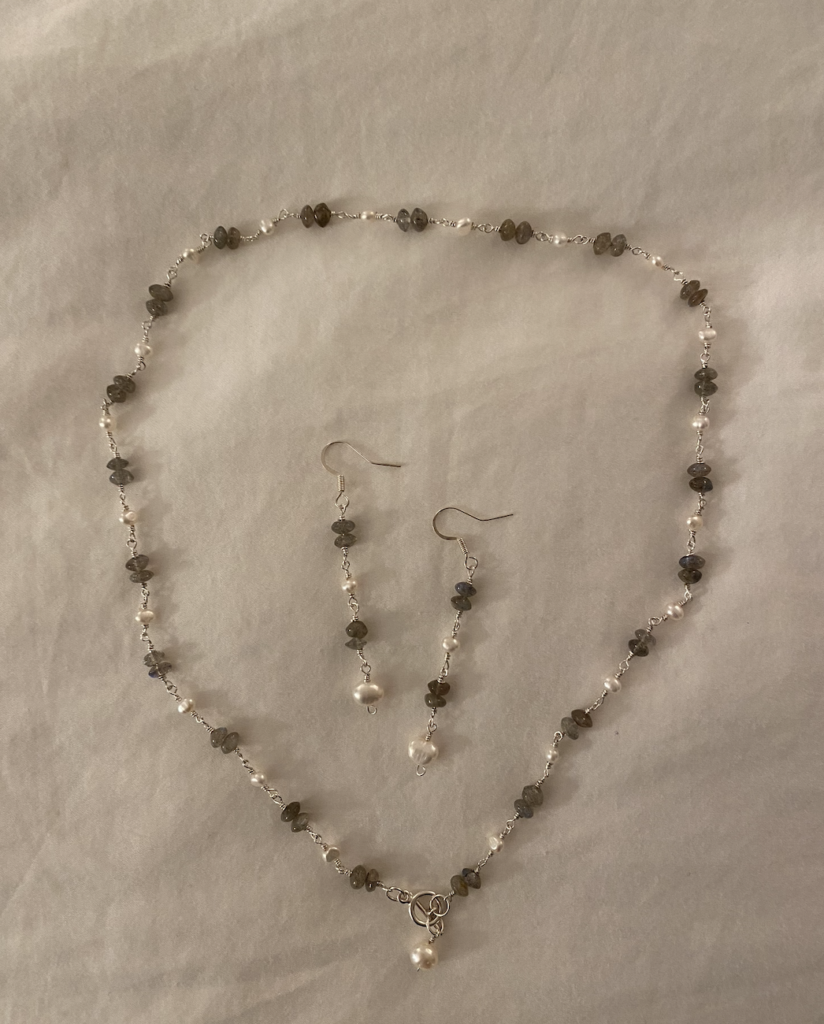
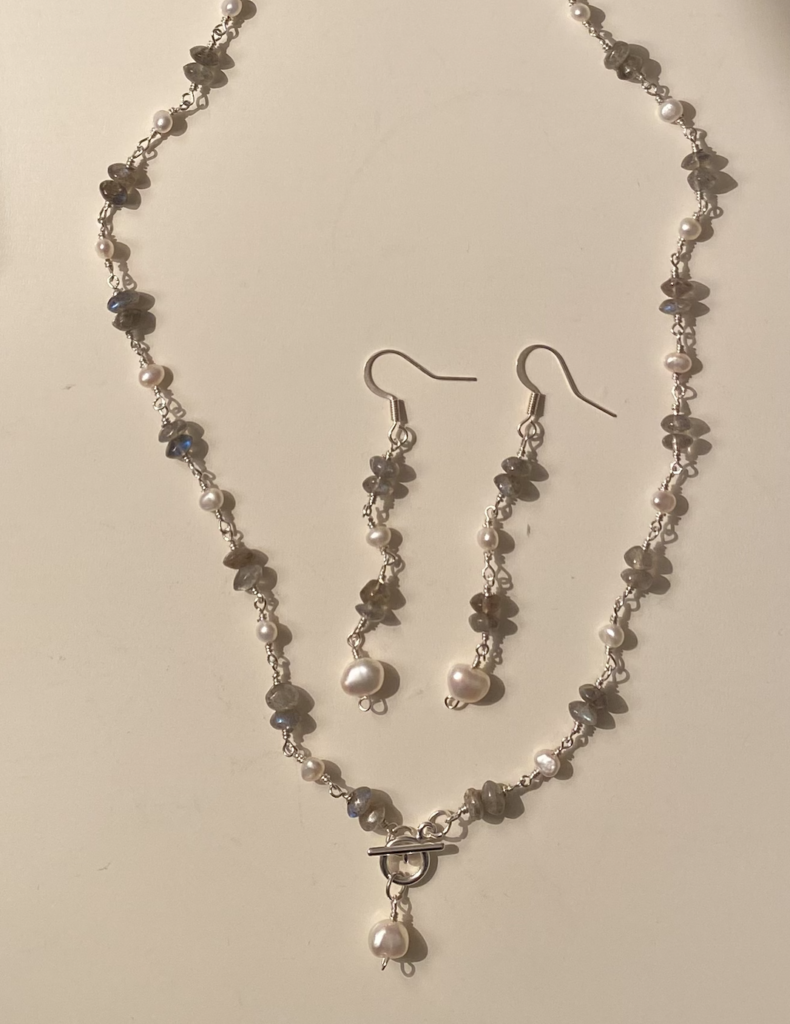
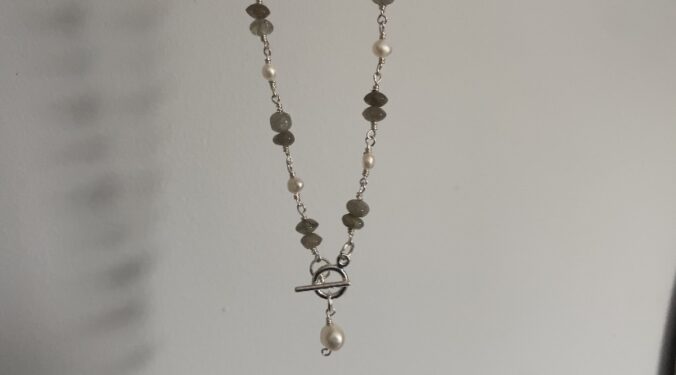
For this necklace, I played around with using Stop Motion. I think this would be a really cool platform to bring into a classroom. Students can get creative and make fun stories with it. It is quite tedious and can be very time consuming, but I think students would be really engaged with any project that uses stop motion. The nice thing about using stop motion is that you can see your progress as you go. This was a great motivator for me when I was creating my necklace because I got to see it slowly come together and look better and better with the more I added to it.
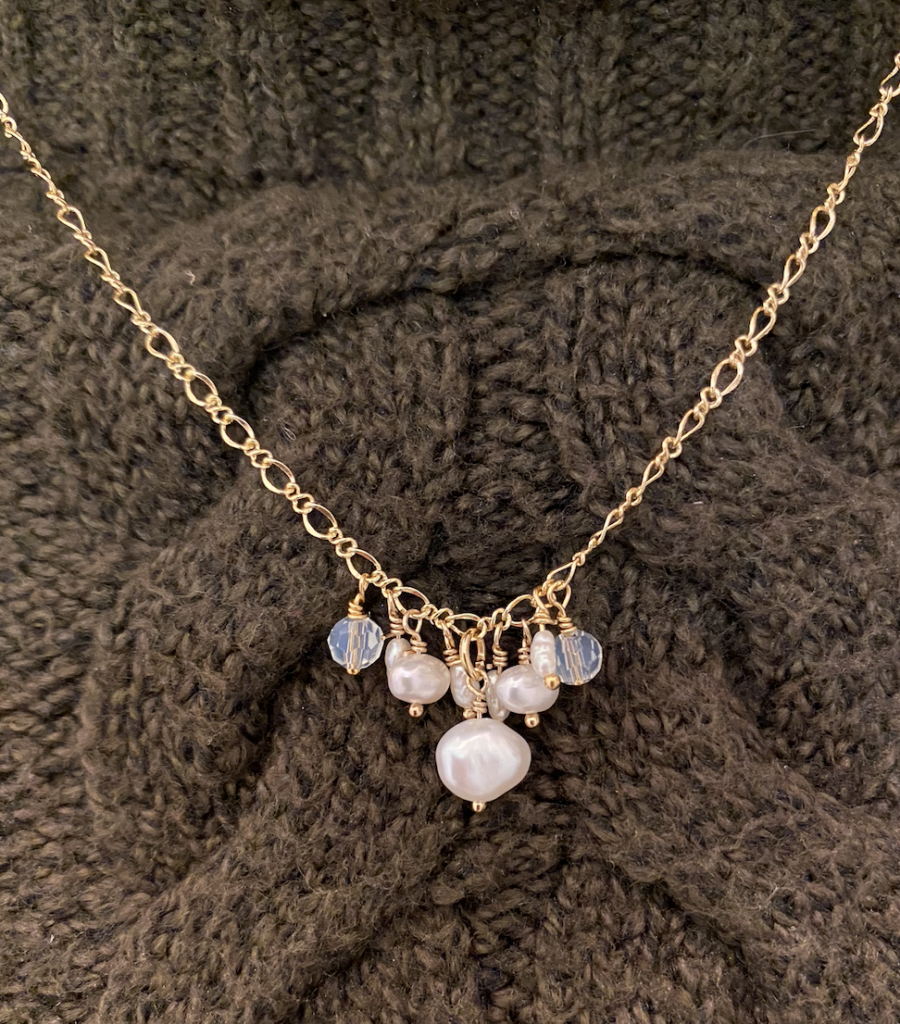
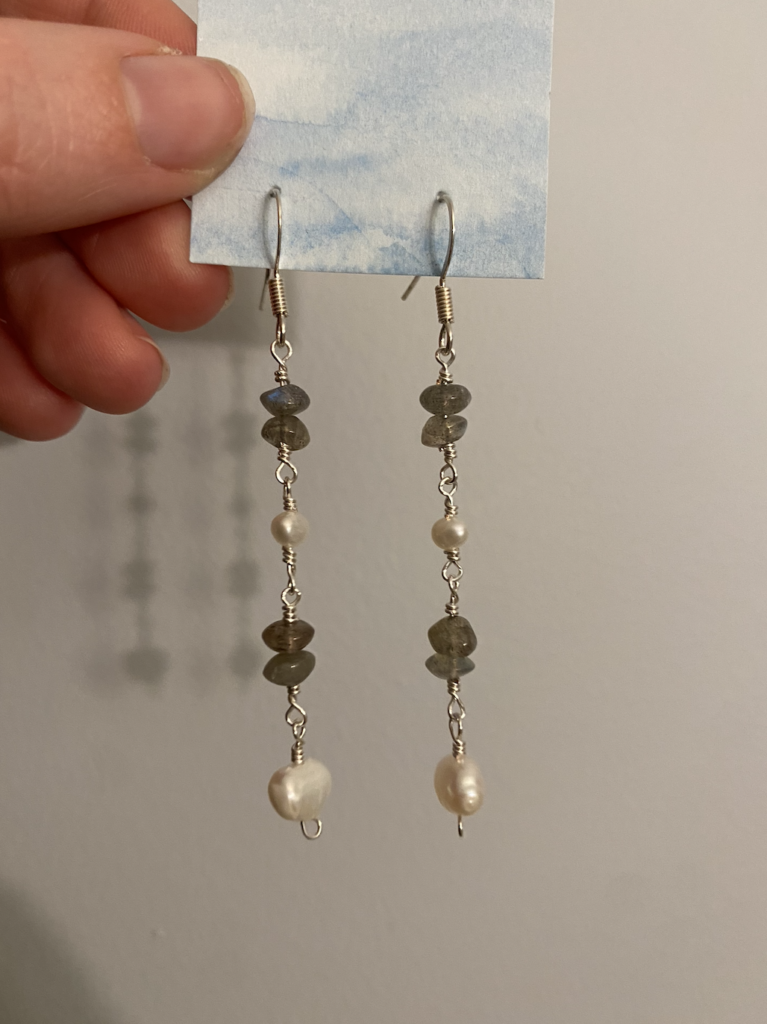
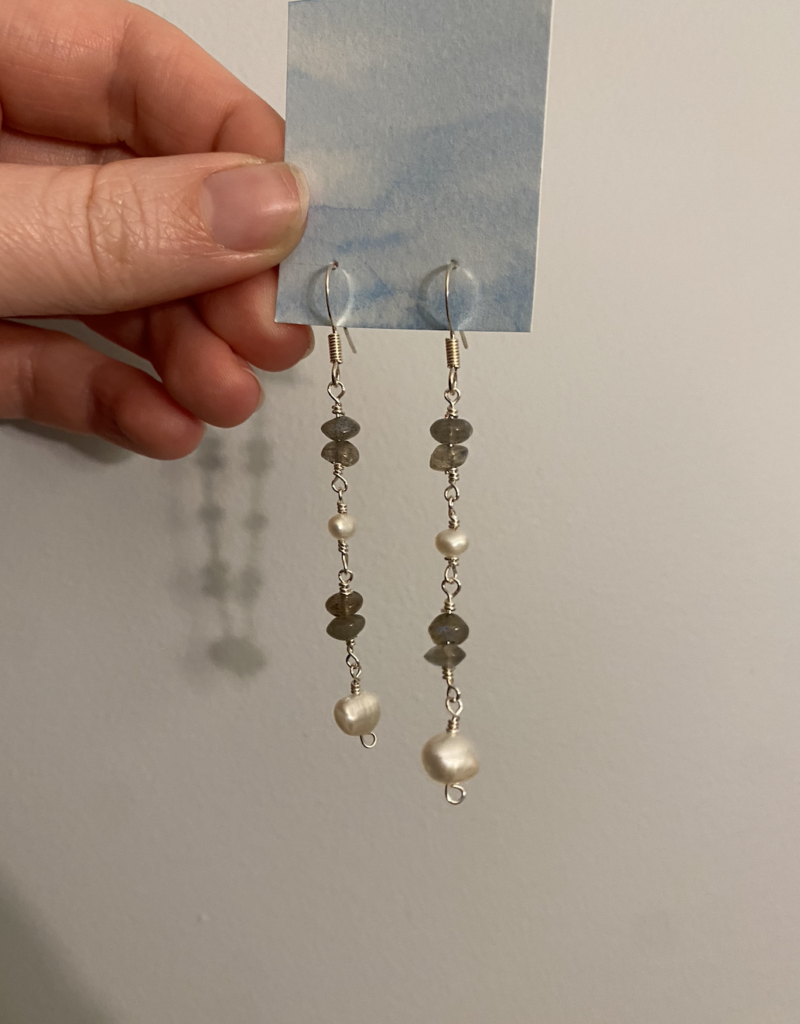
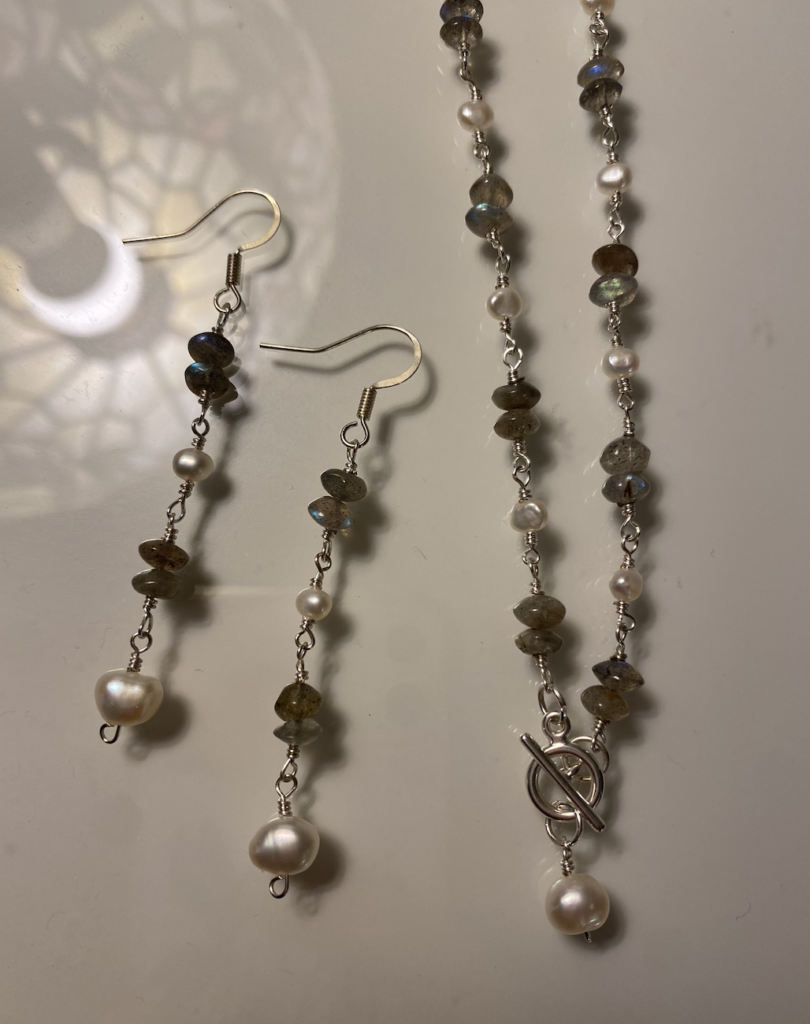
I had some leftover beads from the necklace I made last week. I had linked them together, but had to trim them off because the necklace ended up being too long. I thought they would be perfect for creating a matching pair of earrings! I just added some hooks and a larger pearl on the ends to match the one on the necklace.
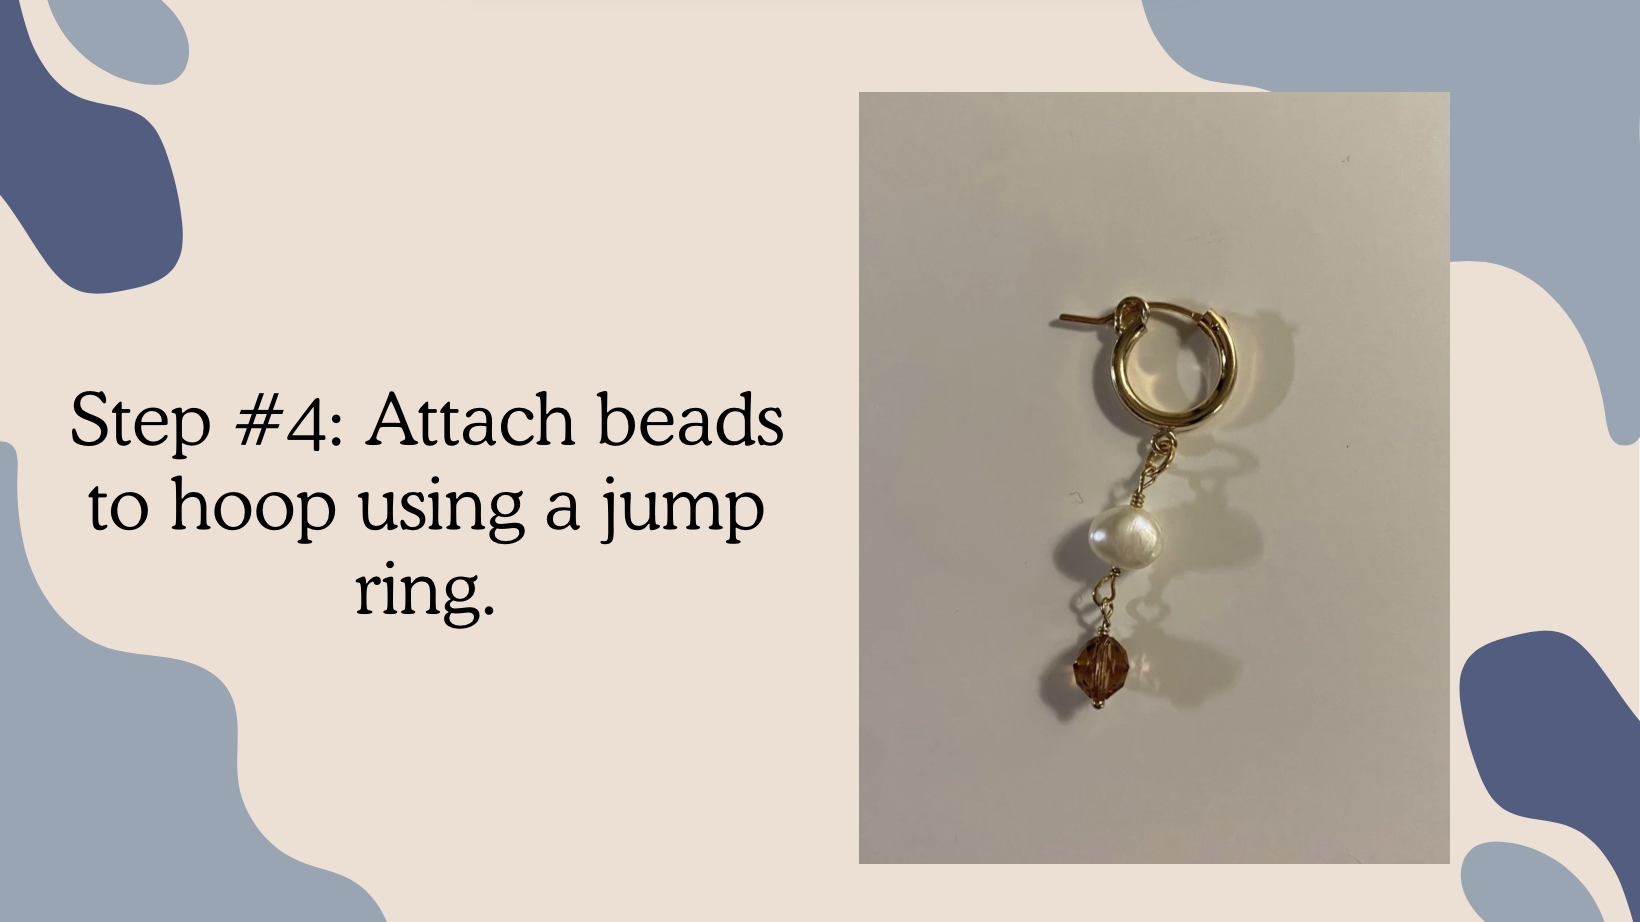
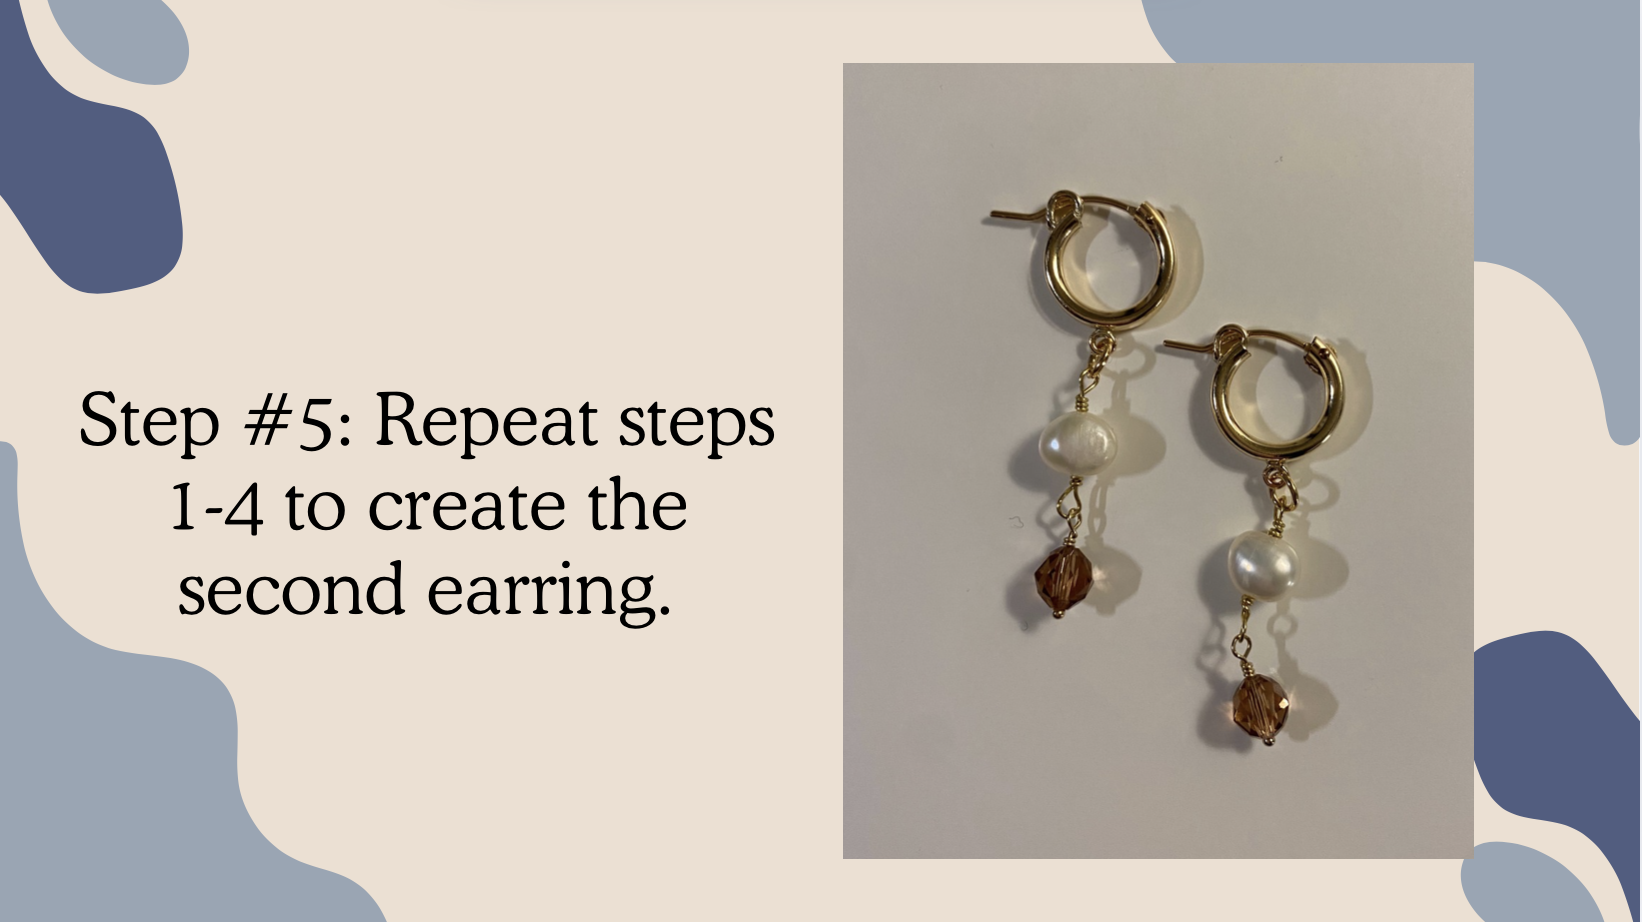
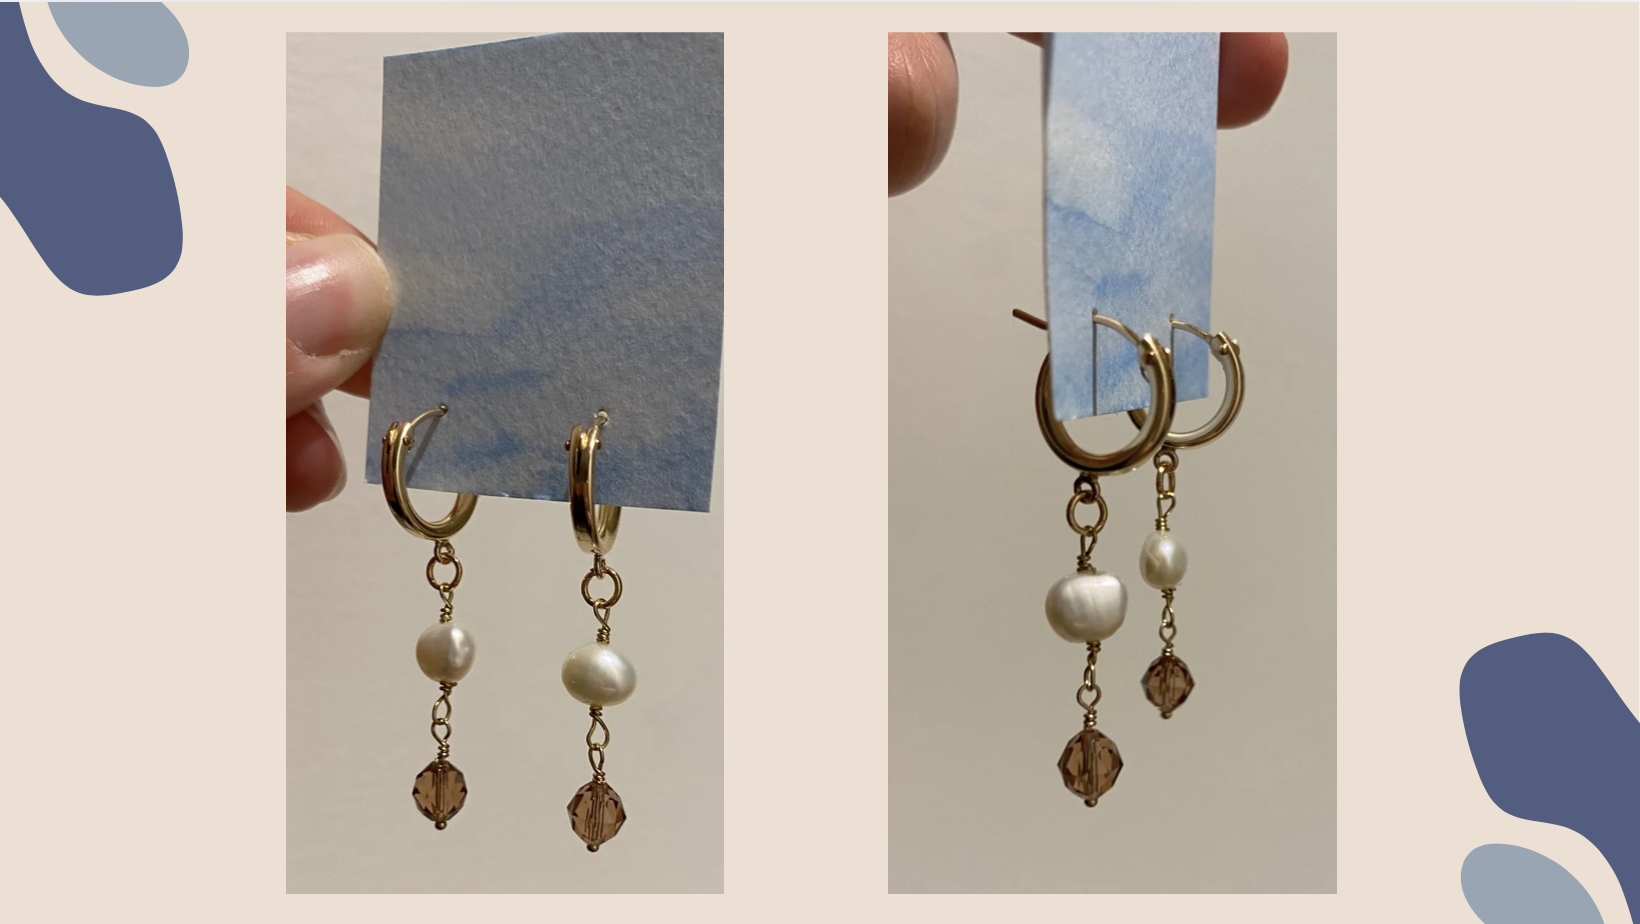
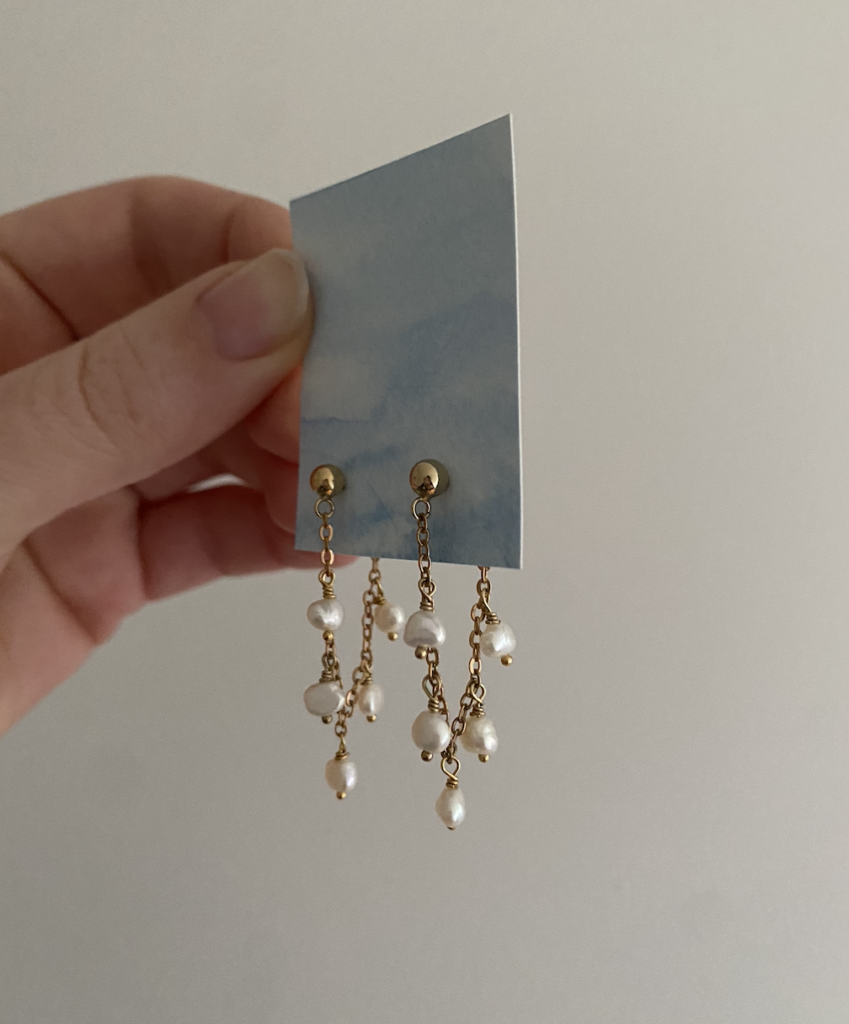
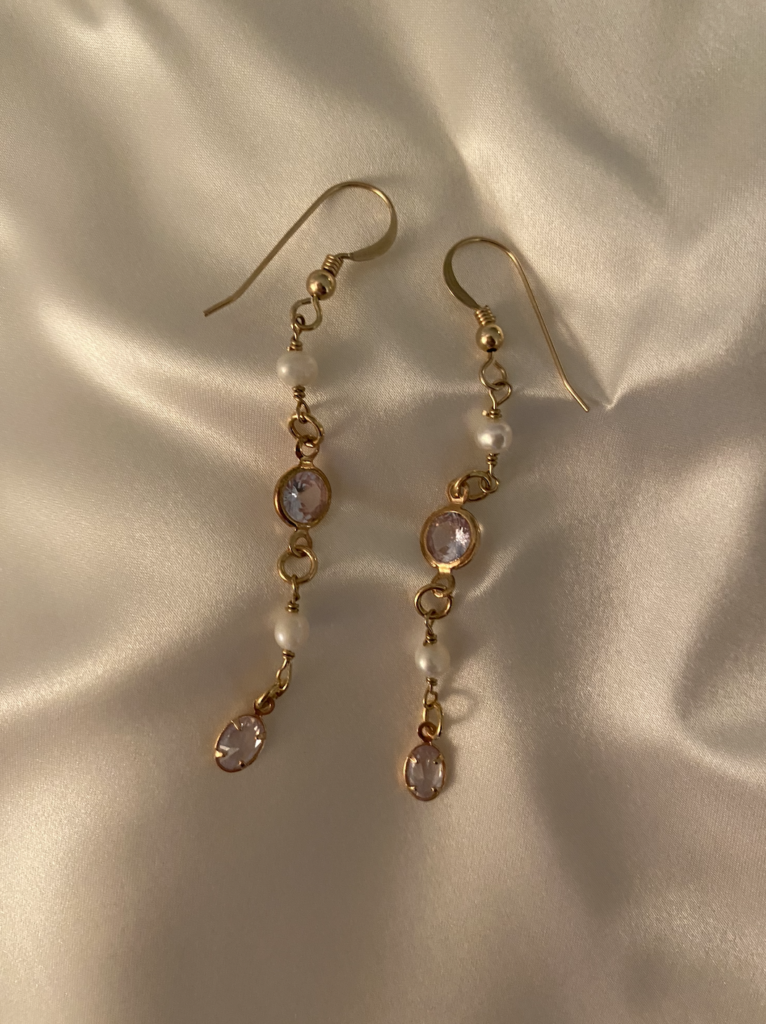
These are by far my favourite pair of earrings I have made! I have always preferred wearing post over hook earrings due to my ears being very sensitive, but it’s hard to find nice dangly earrings with a post. I saw this post on Pinterest of a pair of post-dangly earrings that I loved and wanted to recreate for myself. The process was relatively easy especially because I had practiced working with the same chain and technique of attaching the pearls when I made my bracelet. The trick was figuring out how long the chain should be and making the chain lengths even for both earrings. I played around with the chain, lining it up on the earring to find my desired length and then once I cut the chain I did my best to line it up with another piece of chain for the other earring. I found this to be easier than trying to measure it out by counting the individual chain links. Overall, I am really happy with how they turned out and I have been wearing them almost everyday!
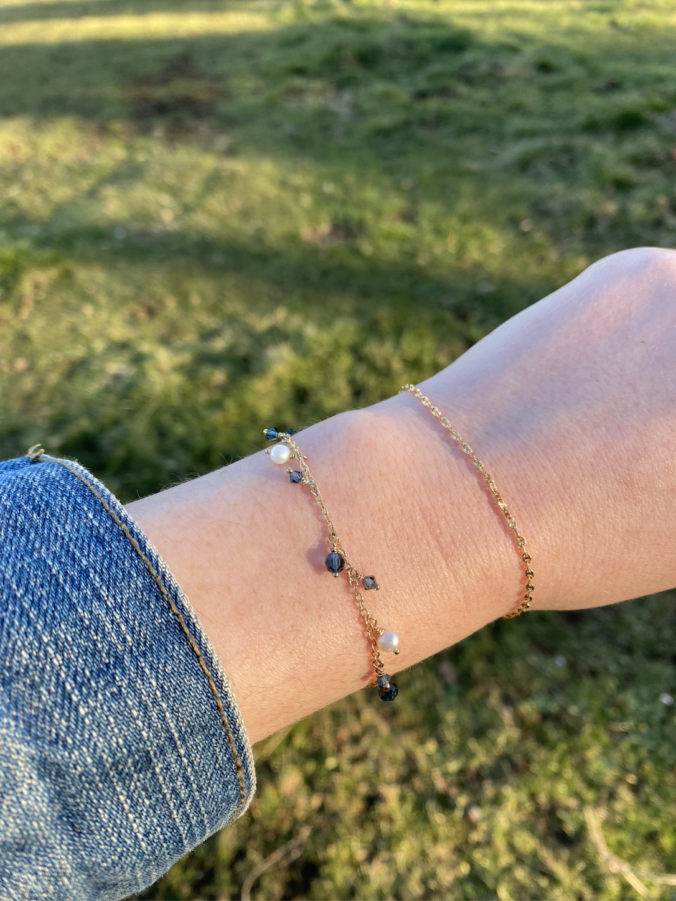
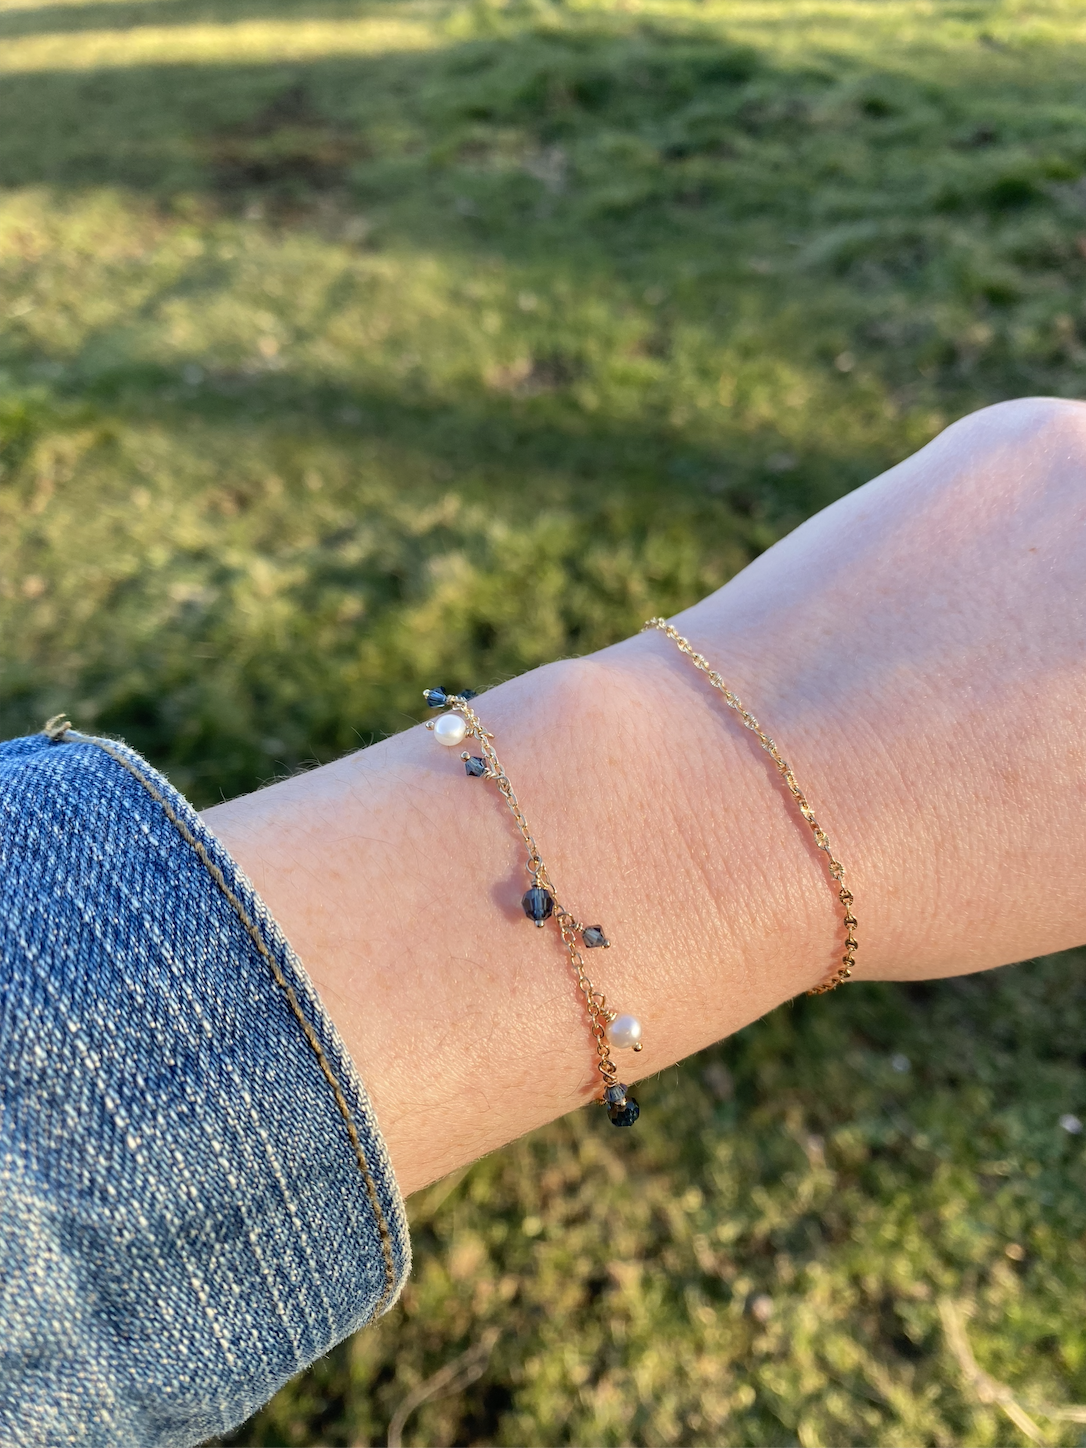
For my second jewellery project, I decided to make a bracelet. I have been wanting to experiment with using chain and I thought making a bracelet would be a good start. The first step was measuring out how much chain I would need. While this sounds like a simple task it was a little tricky. I measured it around my wrist and cut it, but it ended up being way too big for me so I cut some more off but then it was too small. So I learned that a little bit of chain goes a long way and had to start again. Once I got my desired chain length I added on my clasp by using a jump ring to connect the clasp to the chain. I think it probably would have been better to start with a chain that was slightly bigger or a jump ring that was thinner because I had a really hard time getting the jump ring through the chain. I then played around with what beads I wanted to put on my bracelet. I was going for a charm bracelet style where the beads hang off the chain. Eventually, I would like to try and attach beads in between the chain as well. I really liked how my bracelet turned out in the end, and although it was quite tedious, I was able to space out the beads nicely on the chain with 6 chain links between each bead. I did run out of the beads I was using at the end so it does have a bit of a gap, but it worked out nicely because when I’m writing or typing on my computer I can adjust my bracelet so that there are no beads digging into my wrist from underneath. I also got lots of wire wrapping practice doing this project!
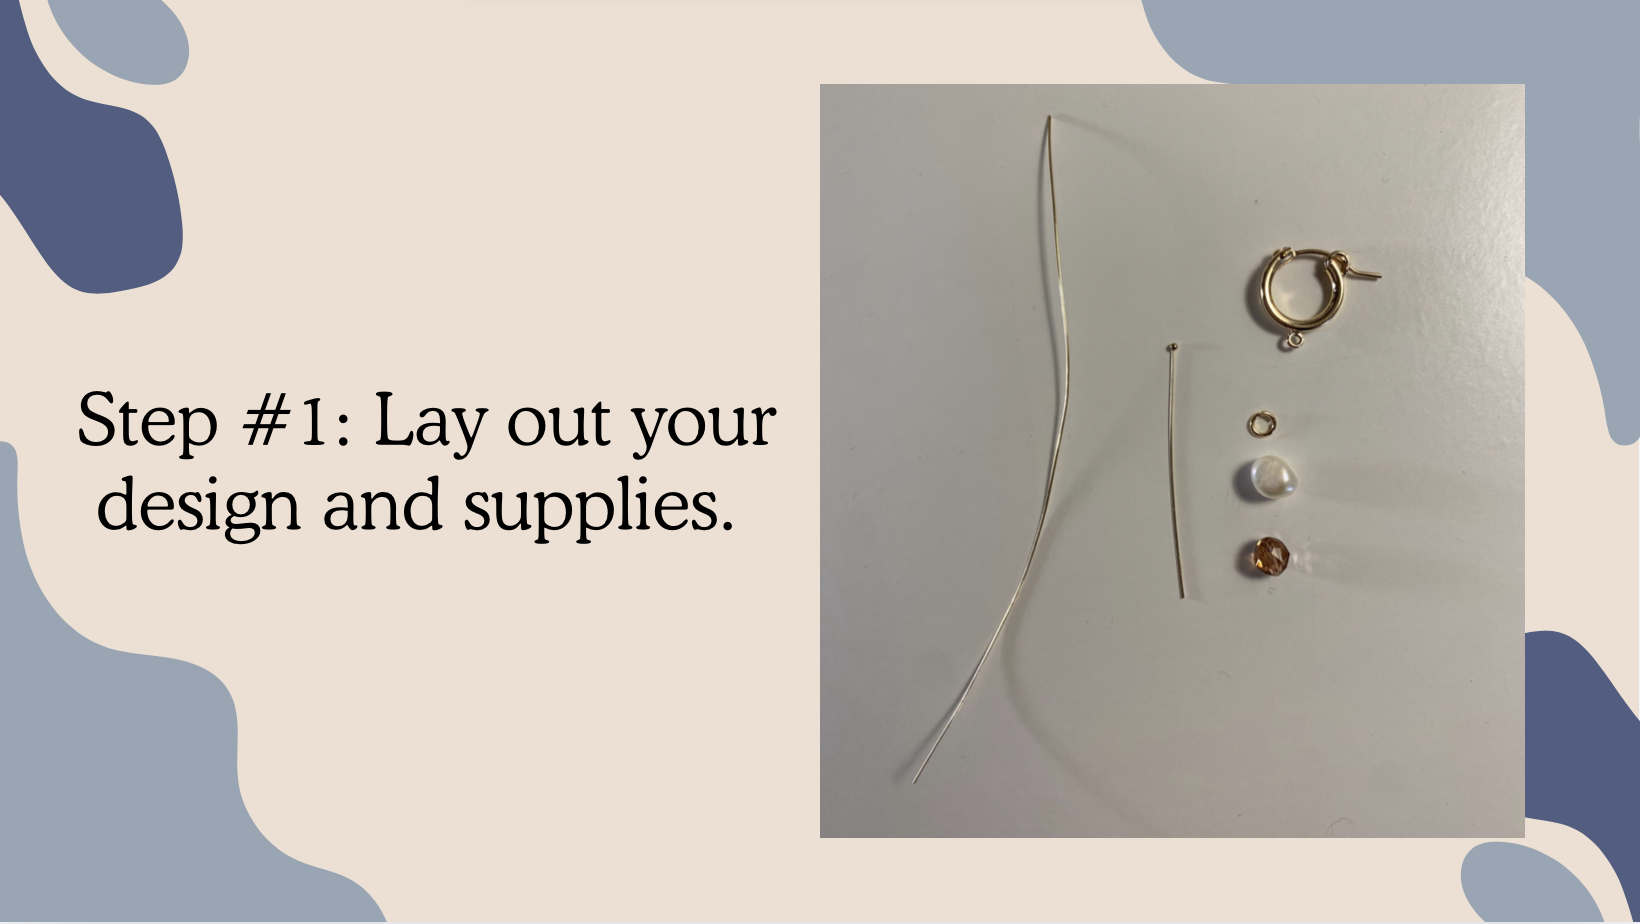
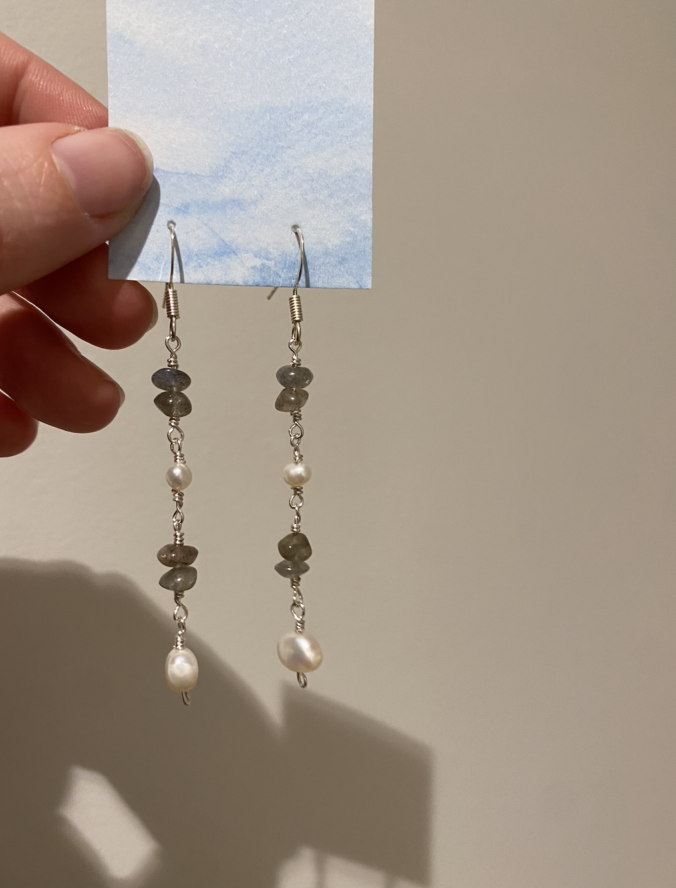
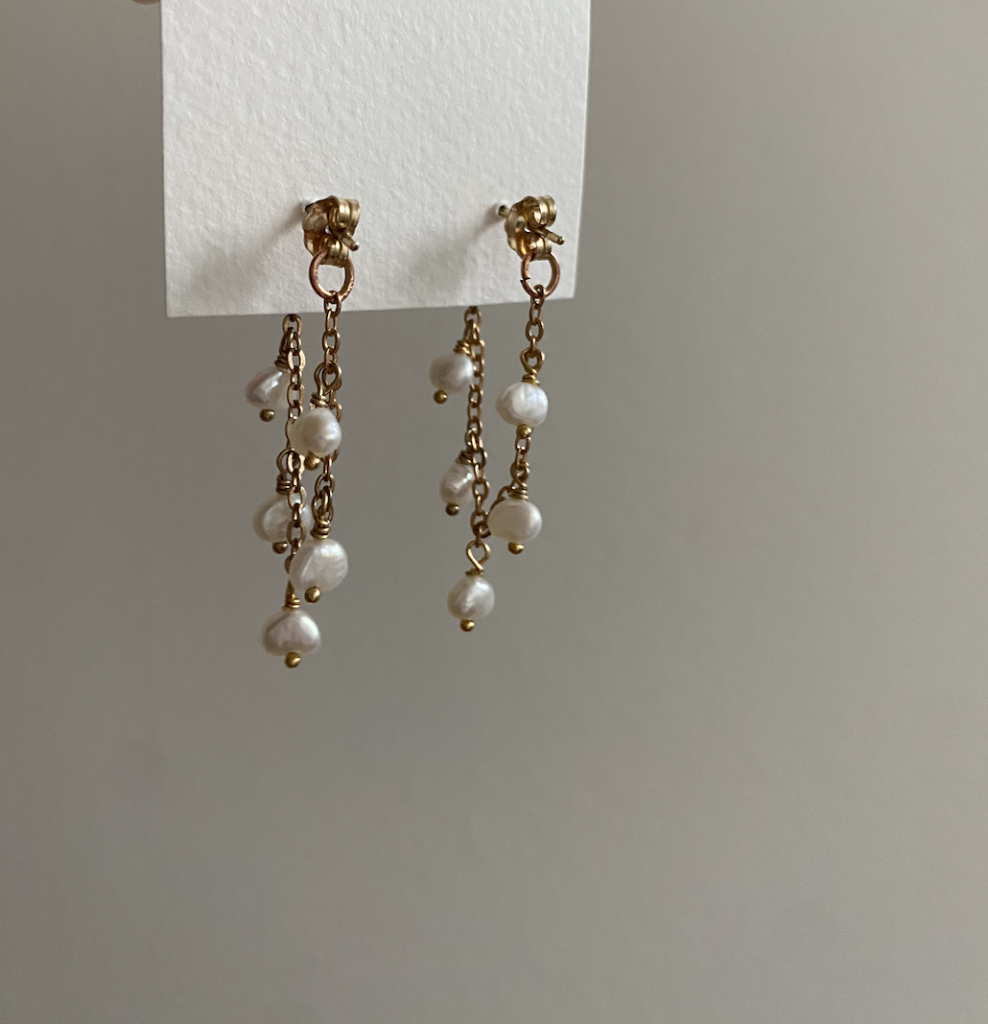
I had so much fun making these earrings! It took a bit of trial and error at the start. The first wire I tried using for wrapping was too thin, so there was not enough structure. The second wire I tried using was too thick, making it really challenging to wrap. Eventually, I was able to scrounge up some wire that was the right thickness for this particular project. This was the first time I experimented with using jump rings, the little gold rings between the beads. I would usually just connect the beads with wire, but I like the look of the jump rings as they add a little more space between the beads. Using the jump rings also allows me to make changes to my design. For example, if I wanted to go back and change the order of the beads, I could easily do that. Whereas, if I had connected the beads with wire, I would have to cut the wire and re-wrap the beads. I also had to use two pliers, one in each hand, to work with the jump rings, which was a bit of a learning curve, but I got the hang of it by the end.
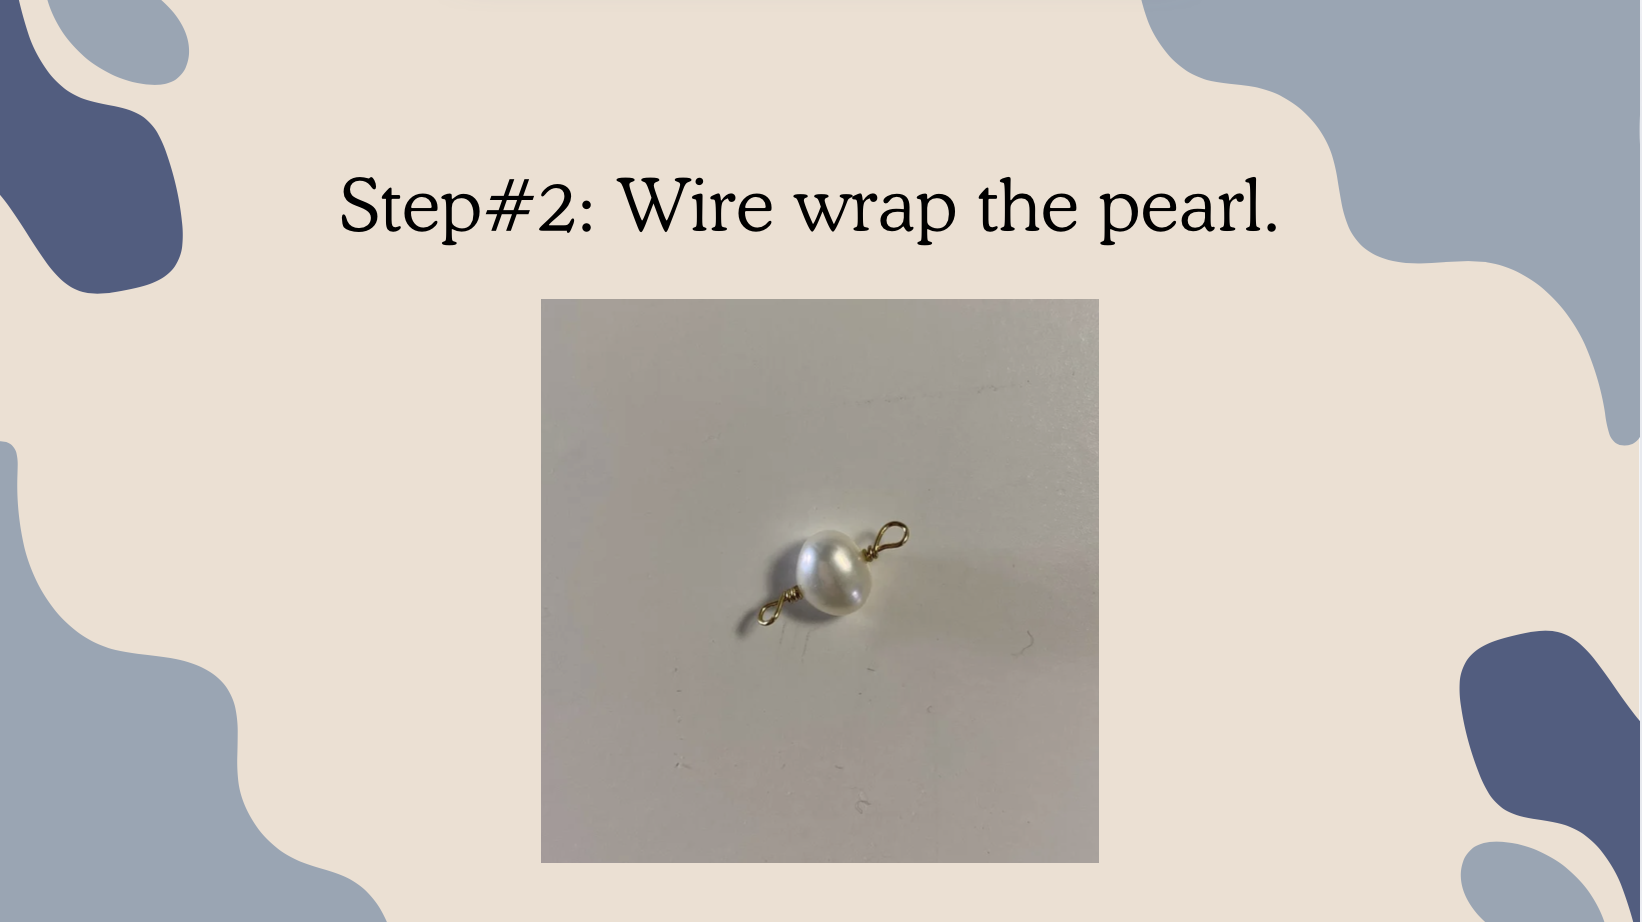
I wanted to explore some other techniques for wrapping wire to help me improve my wire wrapping skills. When attaching beads together or onto a chain, wire wrapped loops are often used. Here are a couple videos I found that show how you can make wire wrapped loops.
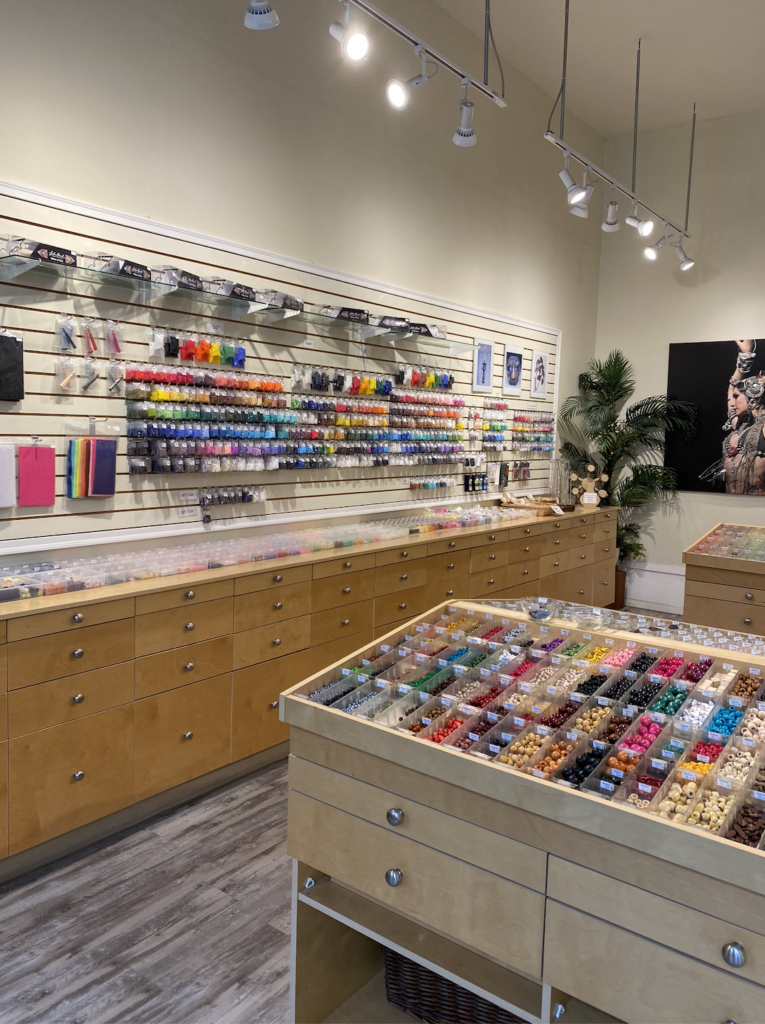
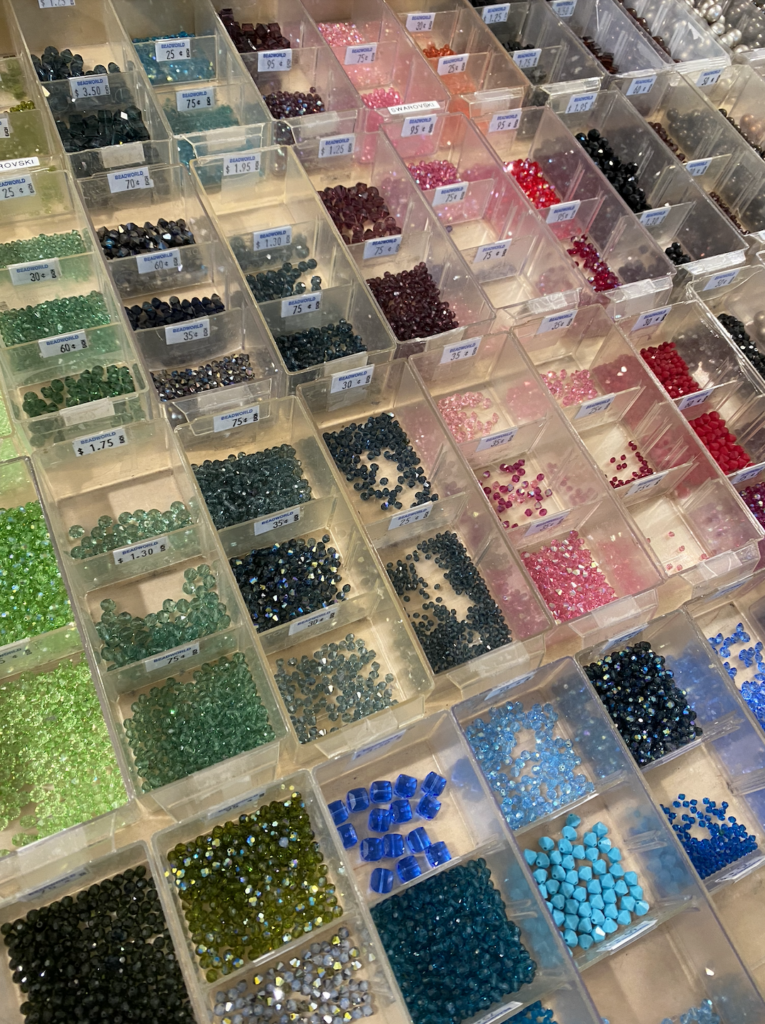
Went to BeadWorld to get some supplies for my jewellery making! I had so much fun looking around, picking out pretty beads, and getting lots of ideas for what I am going to create!
For my free inquiry project I am going to learn how to make my own jewellery! I have some experience making jewellery, but it is something I’ve always wanted to do more of and get better at. I’m excited to learn some new techniques, try new things, and get creative.
Check out this Pinterest board to see some of my ideas and inspiration!